

I’ve been loving my XBerry Pi, but using a PS/2 compatible keyboard just didn’t feel legit, so I really wanted to connect up a real Speccy keyboard to the machine.

Why did I not do this right away, seeing as I had the empty case with keyboard ready to go? I have been looking forward to my weirdly spaced pin headers to arrive.

Header Hunt
The XBerry Pi needs a 2.0mm pitch header if you don’t want to solder each keyboard wire directly to the board.
It’s understandable that such a compact header is required seeing as everything is so cramped on the board (foreshadowing), but it does make acquiring said headers a chore. In the end as they were so cheap I bought a bag of them from China just to get one a little quicker.
You do have to solder this header to your precious board so if you are at all nervous about this, stick with the regular keyboard.
Turn PS/2 Keyboard Off
I also had to set the configuration (MACHINES/NEXT/CONFIG.INI) on my SD card to not use the PS/2 keyboard (ps2=1), but I think that is the default anyway.
Wiring Up the Speccy Keyboard
Perhaps using a real Spectrum keyboard is an unusual thing, but I would have expected ribbon cable headers to be a popular option myself. Regardless, you need to have ribbon cable connectors and then make connections from those pins to the header you soldered to your Xberry Pi.
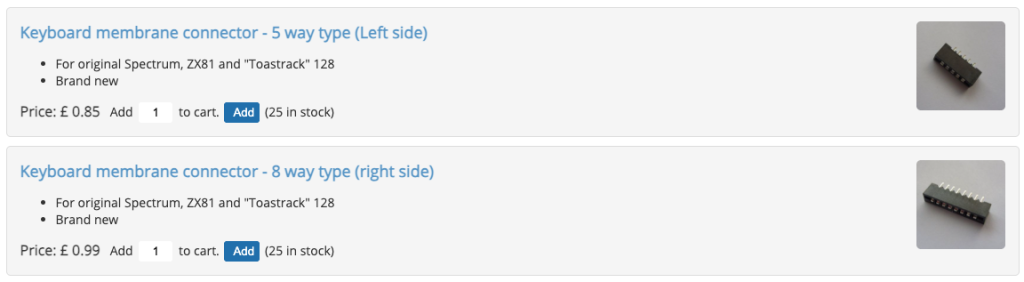
I get a lot of my retro computer parts from Retroleum here in the UK. Not sponsored or associated, I just find most things I need there and really should batch up my orders instead of paying postage in adhoc shipments.
Xberry Pi Pin Diagram
There is a diagram on the Facebook group that got me started but it was still difficult to follow so I added some artistic annotations to make things clearer. Clearer for me anyways.

Success! (?)

A combination of the lack of space and my bad eyes made this a lot more frustrating than it feels like it should be.
I also managed to constantly get the ribbon cables the wrong orientation.
After a very long time worrying if I had broken the membrane, got a bad solder joint, or had a bad connection with one of the wires that I couldn’t even see to troubleshoot, it finally worked.
Knowing ahead of time that this might be tricky is one of the reasons I backed the Kickstarter 3 for the ZX Spectrum Next board-only, this guy won’t go into storage though, at the very least it will still get used as my “stunt” board.
What Next (Heh)?
So would I recommend it? I would say if you are at all daunted by the prospect of permanently modding the board, the other upgrades made a more substantial improvement, and particularly the wifi module.
Now that I have it wired up, it does make a difference having the correct keys right there, though I do find it a touch unresponsive for playing games using keyboard controls. It could be down to my bad connections, it could be because of the multiple connectors, or it could be my (albeit brand new) keyboard membrane, I am not sure.
I will definitely add a momentary button to the reset wires, though, that will come in very handy.
The Xberry Pi is a fantastic piece of hardware. I am back to fully looking forward to my ZX Spectrum Next KS3 board to see how they compare, and you can expect more experiments with both ZX Next options in the future.
 Introduction to Programming the Commodore PET